There are many different ways to use .png overlays to create digital scrapbook papers. One of my favorites is to create a decayed or distressed look by using the overlay as a mask and painting in the pattern with brushes. Here is an example of what can be made with overlays and brushes:
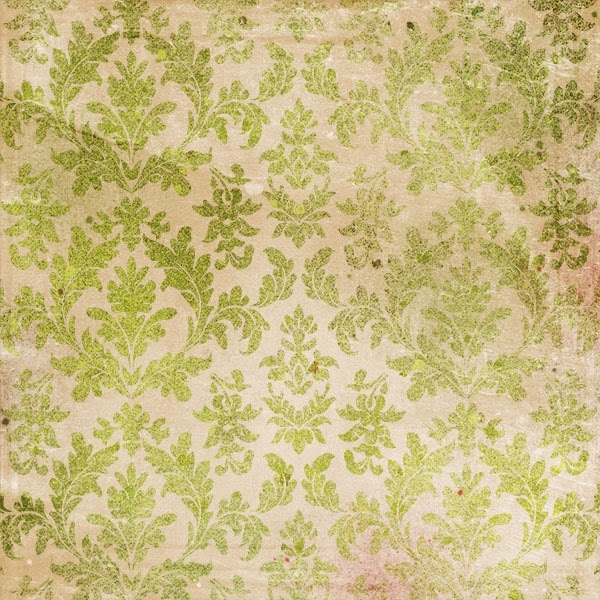
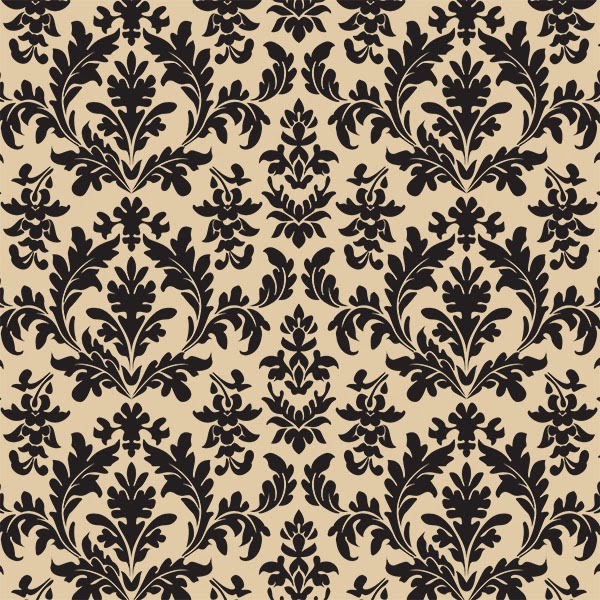
Here are the supplies I used to create the above:


And here are the simple steps to create amazing papers. These instructions were created in Photoshop CC. Layer masks are also available in PSE 9 and later.
1. Create a new 12x12 document in Photoshop.
2. Fill the background layer with a solid color from the swatch you are working with
3. Add the .png overlay on the next layer above the background. When using this technique, you must be using a patterned overlay in .png format so that the shape of the pattern can be selected. A .jpg overlay will not work. Individual layers of .psd layered paper makers also work great. (See examples at the bottom)
4. Create a new layer above the overlay and keep that layer selected in the layers palette
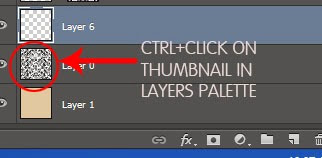
5. CTRL+CLICK on the thumbnail of patterned overlay layer in the layers palette to select the contents of that layer. You will now see the “marching ants” in your work area
6. Click on the Add Layer Mask icon at the bottom of the layers palette to create a mask shaped like the overlay on the empty layer.
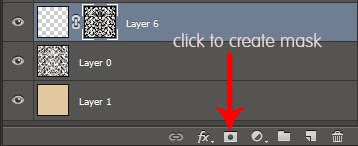
7. IMPORTANT: after adding the layer mask, click on the thumbnail of the layer (the empty part) to activate the layer again otherwise the next steps will take place on the mask and not the layer.
8. Now for the FUN!! Turn off the visibility of the original overlay or delete it. Then load up the spatter brushes and start clicking in your work area on the layer that you put the mask on. When you click to “paint”, you will only get the paint in the shape of the overlay. Use single clicks for the spatter brushes – do not drag or you will lose the look of the brushes.
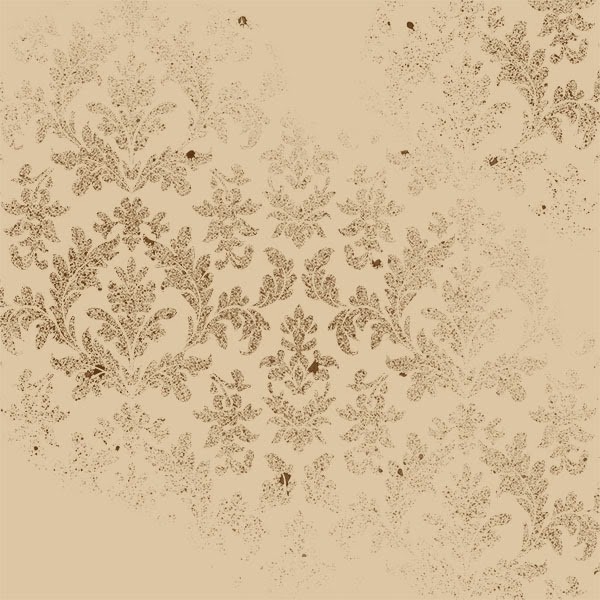
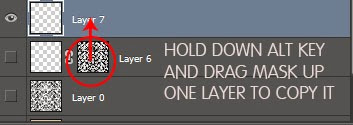
9. Add additional masked layers for additional colors. I like to build all my color layers separately so I can adjust their opacity and layer order. Simply create a new layer and then drag the mask in the layers palette you had on the previous layer onto the new layer while holding down the ALT key
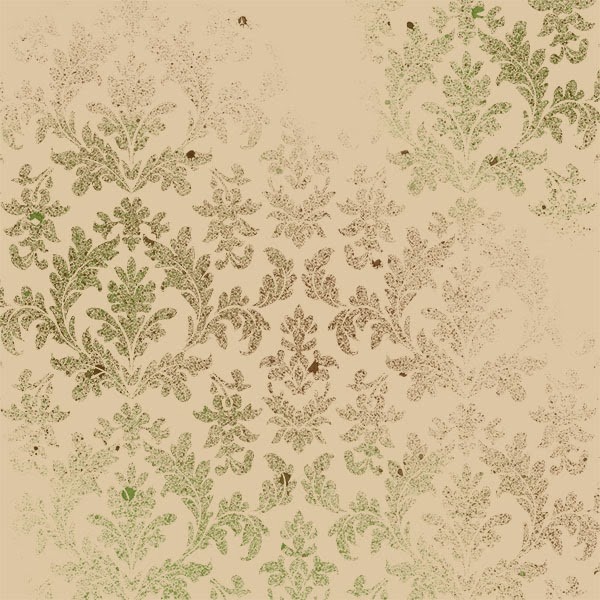
10. Keep adding layers and colors. Vary your brushes and adjust the colors and layer order however you like.
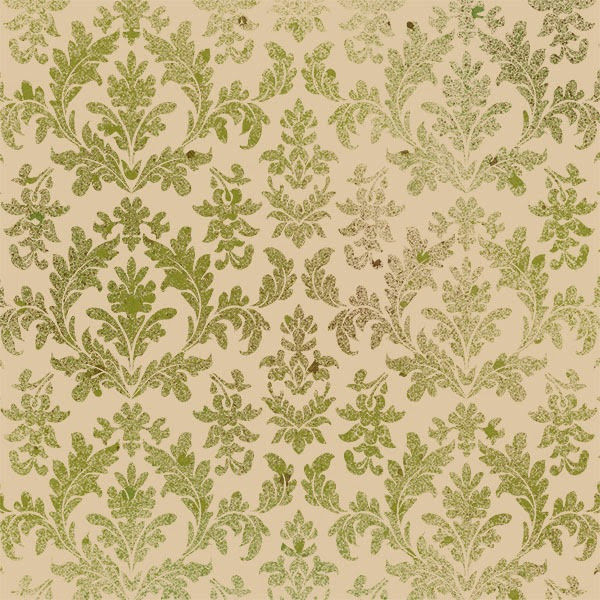
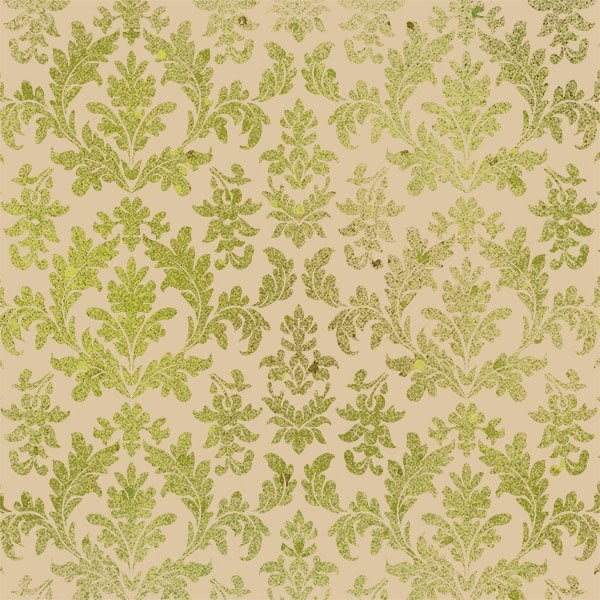
11. If desired, all a few dashes of spatters in a new layer without a mask for a slightly more messy look
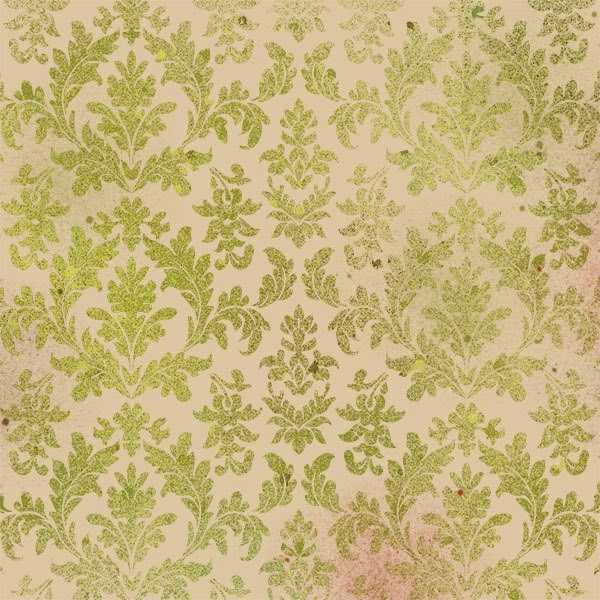
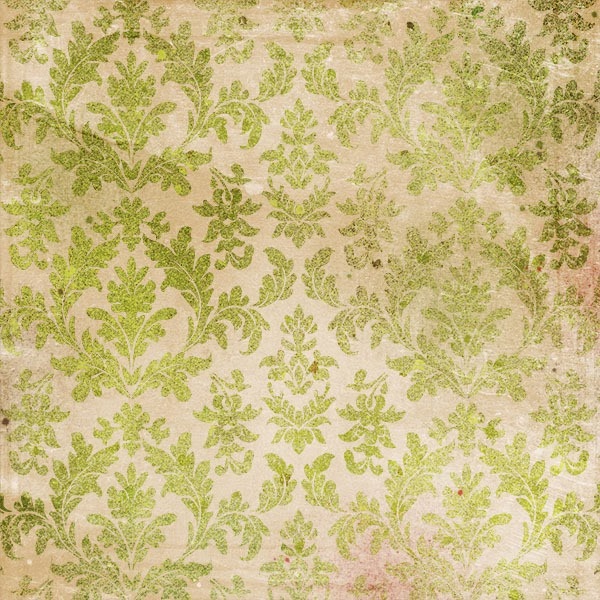
12. Finish with a good texture overlay on the very top. I set the blend mode to overlay for this paper. You can explore with different blend modes and opacity to get the look you want
You can also use this technique with layered paper makers. Just use each layer as a mask and build up the different “shapes” contained in the paper.
This set of layered templates with the spatter brushes

Can give you this:
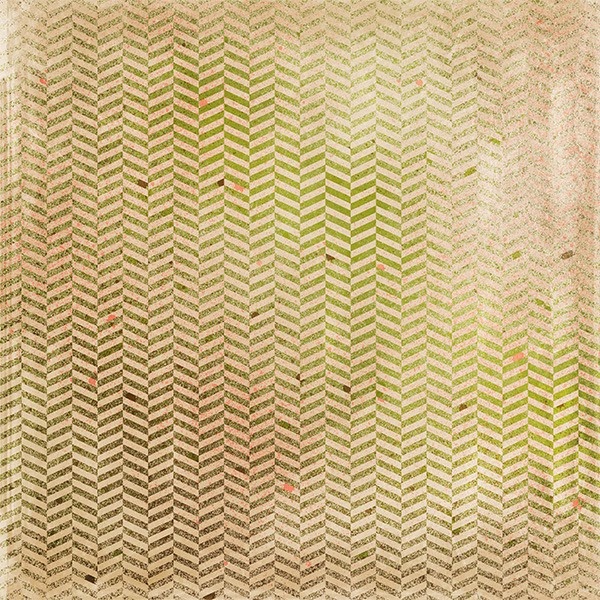
Or this set

with these texture brushes

can give you this:
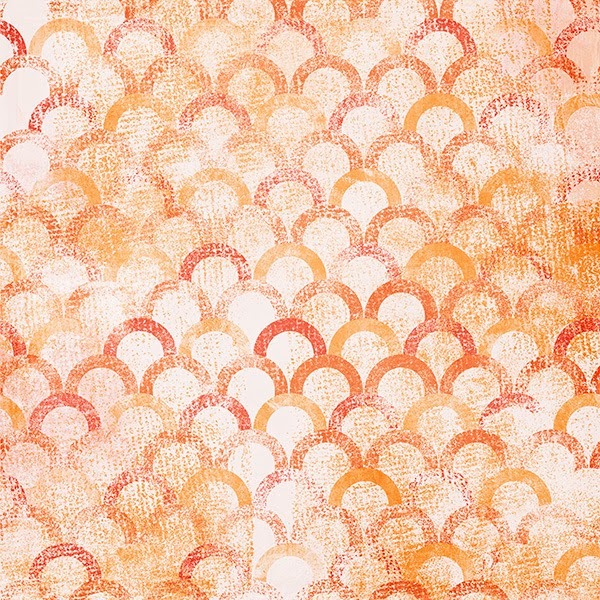
Basically, the possibilities are almost endless!!
Did you find this useful? Subscribe to the CUDigitals weekly newsletter and never miss another tip! And be sure to follow us on Facebook for a CU freebie overlay set and daily links to helpful articles for your digital scrapbook design business.

This comment has been removed by the author.
ReplyDeleteThis is wonderful! I'm going to try this right away... thanks for sharing!
ReplyDeleteTHANKS!!!!!!!!!!!!!!!!!!!!!!!!!!!!!!!!!!!!!!!!!!!
ReplyDelete